

Visible Mending for Jeans: Beginner Repair Guide
Your favorite jeans have developed a small hole, and the hole has somehow developed the confidence of a much larger hole. Before you put them in textile retirement, try visible mending: reinforcing damage with stitches you can see on purpose.
Decorative running stitches inspired by Japanese sashiko can turn a worn knee or pocket corner into a detail with character. This is a beginner-friendly approach, not a claim to teach the complete traditional Japanese art. We are fixing jeans, respecting the technique’s origins, and keeping the pants out of the donation-bag purgatory a little longer.
You do not need a sewing machine or perfect stitches. You do need to check whether the fabric around the hole is still strong enough to support a repair, pick a patch that extends beyond the damage and avoid pulling the thread so tight that your jeans begin to pucker.
How to Fix a Hole in Jeans with Visible Mending
Yes, if the surrounding denim is sound and the patch has enough healthy cloth to grab. A small knee hole is a lovely first attempt; fabric worn paper-thin across the entire inner thigh is harder and may need a larger reinforcement or professional repair.
Traditional sashiko commonly uses sturdy cotton thread and longer, sharp needles for rhythmic running stitches. If you’re borrowing the look for casual denim repair, label it sashiko-inspired and appreciate the difference between decorative practice and a full traditional craft.
Starter formula: a patch behind the hole, small even running stitches across and beyond its edges, and thread tension relaxed enough that the denim still lies flat.
As an Amazon Associate I earn from qualifying purchases. Some links in this article may earn Catching Print Co. a commission at no extra cost to you. Thank you for supporting our business. Check Amazon for current product details and availability.
Essential Visible Mending Supplies for Jeans
Choose needles that cooperate with denim
Long sashiko needles let you load several stitches onto the shaft, while mixed lengths are practical for awkward corners and curved pockets. Pick one set rather than buying both immediately.
Pinch a test swatch of scrap denim and practice a running stitch. Heavy seams may be too thick; work beside them rather than forcing a needle through multiple bulky layers.

FOR A STRONG FIRST STITCH
Lecien Japan Sashiko Needle Set
The dedicated needle type for learning neat running stitches on woven cloth. These are sharp; choose a safe needle storage spot.
A small thank-you: this link supports our business.
A successful visible mending project starts with clean, dry denim. Wash the jeans first so you are repairing the fabric in its everyday state, then trim only truly loose threads. Keeping a little fraying can look intentional, but cutting too close can enlarge the weak area.

FOR LONG RUNNING STITCHES
Clover Long Sashiko Needle
Useful for those comfortable loading several stitches on one needle. May be longer than beginners need for small curved areas.
A small thank-you: this link supports our business.
Patch the fabric, not merely the hole
Trim loose thread carefully without cutting into healthy fabric. Slide a cotton denim patch behind the damaged area, extending around the worn edges; temporarily secure it with basting stitches or suitable fabric adhesive according to its directions.
Iron-on patches can help position a repair, but heat-activated adhesives vary by fabric and may require stitching for durability. Always check garment heat tolerance and test an inconspicuous area.
When choosing a denim patch, extend it beyond the hole on every side so the stitches are anchored in strong fabric. This is especially important for inner-thigh wear, knees, and pockets, where a small patch may look neat but will not distribute stress very well.

FOR A STURDIER DENIM PATCH
KING MOUNTAIN 20-Piece Denim Iron-On Patches, Five Colors
A range of blue backing shades for reinforcing worn jeans. Check iron instructions and consider additional stitching for high-stress areas.
A small thank-you: this link supports our business.
Visible mending stitches do not need to be perfectly identical. What matters is a consistent direction, even tension, and enough coverage to stabilize the worn denim. Work slowly across the patch rather than pulling long threads tight, which can make the repair pucker.

FOR MARKING STITCH LINES
Triangle Tailor’s Chalk, 10-Piece Set
Marks a clear guideline without freehanding the whole patch. Test removability on fabric before marking your garment.
A small thank-you: this link supports our business.
Make the stitch look intentional
A hoop can help stabilize a small flat panel of fabric, but do not force thick jeans or a bulky waistband into one. Simple cotton embroidery floss works for a first contrast-color practice piece, although traditional sashiko thread has a different construction and finish.
Draw a grid of short dashes on the wrong side or use tailor chalk on the outside. Work parallel rows of running stitches; do not cross the thread so tightly that the denim gathers.
Choose embroidery floss or sashiko-style thread based on the look you want, then test it on a scrap of denim. A high-contrast color makes the repair graphic and expressive, while a close match lets the stitch texture do the talking without competing with the garment.

FOR PRACTICE FABRIC
Caydo Six Bamboo Hoops + 16 Needles
Helps stabilize flat, thinner fabric or practice pieces. Not for every heavy denim seam; do not stretch or mark the fabric.
A small thank-you: this link supports our business.
To make hand stitching more comfortable, support the denim in an embroidery hoop or hold the repair area flat on a firm surface. Good lighting and short stitching sessions help you place every line more neatly, especially when you are learning visible mending for the first time.
Visible mending is not a race to erase every sign of wear. The charm is in letting the repair show a little: a grid of stitches, a soft contrast patch, or a color that feels like it belongs to the owner rather than the original factory finish.

FOR A PERSONAL COLOR PALETTE
50-Skein Cotton Embroidery Floss Set
An accessible way to test contrast colors before buying specialist thread. An alternative practice thread, not traditional sashiko thread.
A small thank-you: this link supports our business.
Small details that make the repair last longer
Wax can help with thread tangling on some hand sewing, but it changes the surface feel and isn’t required for every thread. A large darning needle is useful for thicker yarn work, not for every close-spaced sashiko-inspired running stitch.
After finishing, gently stretch and bend the patched area. If stitches dig in or the fabric buckles, ease the tension while you can still correct it.
After repairing jeans, turn them inside out for washing and avoid high heat when possible. Check the mended area after a few wears; reinforcing one or two lines early is much easier than waiting for the original hole to spread around the patch.
Pay attention to where the jeans flex. Knees, thighs, and seat seams need patches that move with the garment, so keep your stitches secure but not stranglingly tight. Denim has enough emotional baggage without adding a repair that feels like cardboard.
FOR STUBBORN THREAD TANGLES
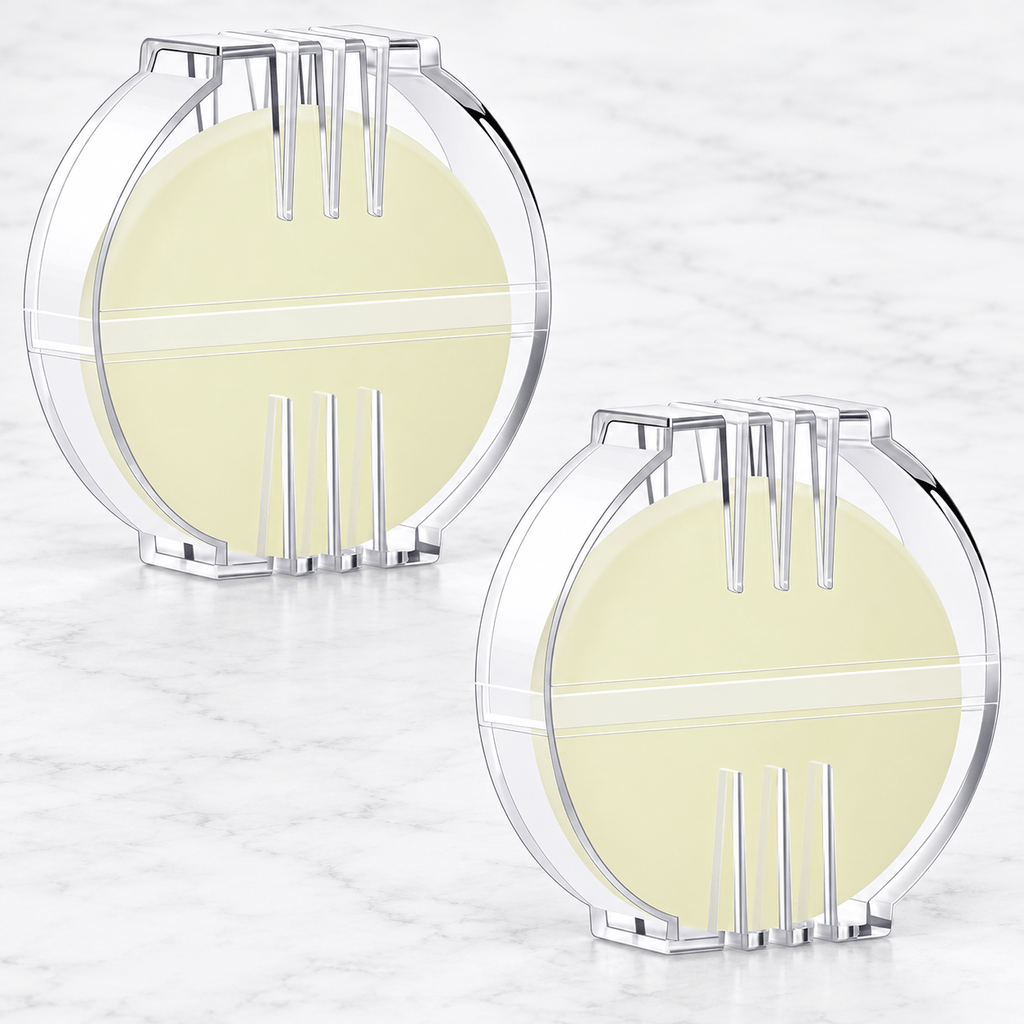
Maitys 2-Piece Beeswax Thread Conditioner
An optional helper if your hand-sewing thread twists and tangles. Test first; conditioning isn’t suitable for every thread or finish.
A small thank-you: this link supports our business.
If the damaged area is close to a seam, mend the fabric first and avoid stitching through bulky seam allowances unless necessary. That keeps the repair flatter and makes the finished jeans more comfortable, especially in places that rub while sitting or walking.

FOR A COMPLETE MENDING KIT
Clover Chibi Jumbo Darning Needle Case
Handy for a broader mending toolkit and yarn repairs. Jumbo darning needles aren’t a replacement for fine sashiko needles.
A small thank-you: this link supports our business.
Practice on scraps before touching sentimental denim
A structured stitch sampler teaches needle control on an easier fabric. This is hand embroidery practice, not a substitute for a traditional sashiko class.
A white mending cloth works for reinforcing light cotton shirts and bags, not blue denim where it would show through a large tear. Match your patch material to your garment’s weight and wash care.
Use the back of the garment as a quiet place to practice your stitch spacing if the front feels intimidating. It is still visible mending, but it gives you a low-pressure rehearsal before you turn a bright thread into the main character.

FOR BUILDING STITCH CONFIDENCE
CYANFOUR Beginner Hand-Embroidery Stitch Kit
Learn stitch tension on forgiving practice fabric. A general embroidery sampler; not a traditional sashiko kit.
A small thank-you: this link supports our business.
Keep the thread tail short and secure on the wrong side of the denim. Long dangling ends can snag in the wash or unravel over time. A tidy finish does not need to be invisible; it simply needs to stay put when life gets busy.

FOR LIGHTER FABRIC REPAIRS
SINGER 00097 White Iron-On Mending Fabric
A separate option for repairing light cotton garments alongside the denim project. White backing is conspicuous on blue jeans and may not match their weight.
A small thank-you: this link supports our business.
40-Minute Visible Mending Plan for Beginners
The point of this schedule is to remove friction, not to turn a creative afternoon into a mandatory corporate retreat. Adapt the timing to your space and your group.
| When | What to do |
|---|---|
| 5 minutes | Assess thin areas, prewash/dry and pick backing material. |
| 10 minutes | Cut patch, align and baste or secure temporarily. |
| 20 minutes | Work two or three rows of relaxed running stitches. |
| 5 minutes | Check front and inside, secure thread, flex-test the repair. |
Visible Mending Checklist: What to Prepare
- Strong surrounding fabric and a patch that extends beyond frayed edges
- One sharp hand-sewing needle suitable for the denim weight
- Cotton hand embroidery thread or sashiko thread appropriate to the project
- Tailor chalk or removable fabric marking method
- Thread snips, a thimble if helpful, bright light
- Do not use heat-activated backing on fabrics that cannot tolerate ironing
Visible Mending FAQs
Is visible mending supposed to look messy?
Visible is not the same as careless. Hand-stitched texture is part of the charm, but sound anchoring and even tension are what make it useful.
Can you fix jeans without a sewing machine?
Yes, for suitable holes and worn areas. Large stress-area repairs can be difficult, so consider a tailor if the fabric is thin or under constant pulling.
Do I need sashiko thread?
No for a first sashiko-inspired repair. Cotton embroidery floss can help you practice, but specialized sashiko thread offers a different appearance and handling.
Will a repaired hole survive washing?
A well-supported patch with secure stitches often can, but durability depends on wear location, remaining fabric strength, thread and wash treatment. Wash inside-out and follow the garment care label.
Make Your Visible Mending Repair Last
The result doesn’t need to resemble a museum textile. If your jeans now have an extra little story and can go back into rotation, you’ve done something useful. Fashion’s most underrated flex is knowing how to fix your own stuff.
Take a quick photo before and after the repair. Besides being satisfying proof that you saved a favorite pair of jeans, it helps you notice whether a high-wear area needs another pass later. Clothing repair is maintenance, not a one-time exam.









Leave a Reply